A garage door is one of the most frequently used entry points of a home, and its smooth operation depends heavily on well-aligned tracks. When the tracks are off balance, the door may bind, tilt, or even refuse to move, creating both inconvenience and safety risks. Proper garage door track alignment ensures that the rollers glide effortlessly, the opener runs smoothly, and the door lasts longer. With a few tools and some patience, you can often correct minor misalignments yourself.
Tools You’ll Need
- Screwdriver
- Rubber mallet
- Level
- Wrench
Step 1: Safety First
Before making any adjustments, disconnect the garage door opener to prevent accidental activation. This simple step keeps you safe and prevents further damage while you’re working on the garage door track alignment process.
Step 2: Inspect the Tracks Thoroughly
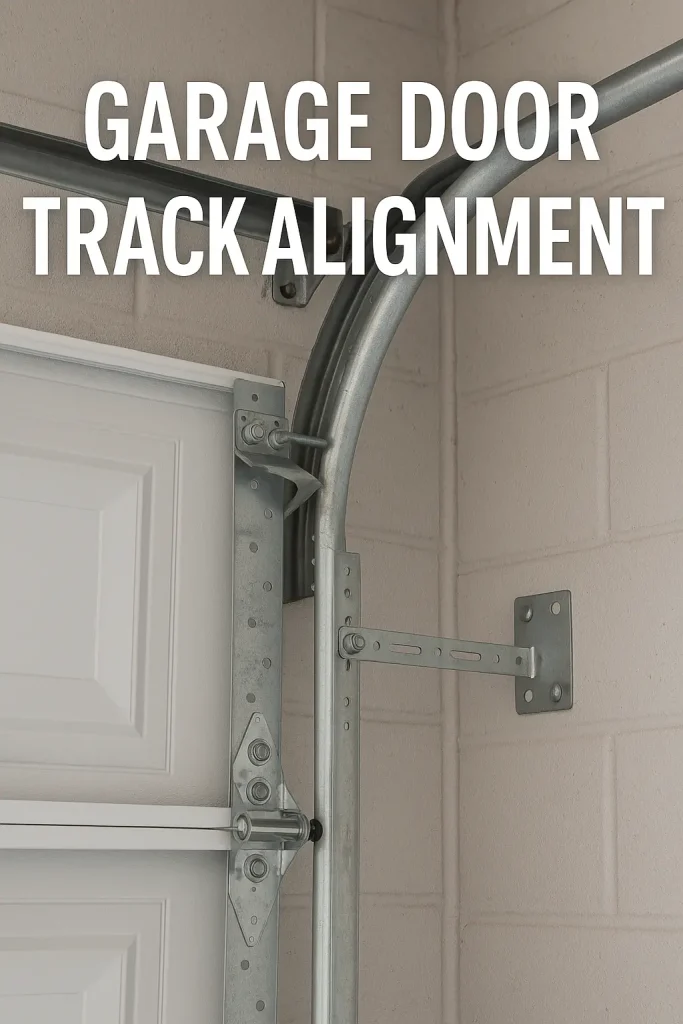
Look over both vertical and horizontal tracks for visible dents, bends, or blockages. Even a small piece of debris can interfere with door movement. Clean the tracks with a dry cloth and make sure the rollers move freely. If you notice severe damage, replacement parts may be required before starting alignment.
Step 3: Adjust the Vertical Tracks
- Loosen the screws or bolts that hold the vertical tracks in place using a screwdriver or wrench.
- Tap the track gently with a rubber mallet to move it slightly.
- Use a level to confirm that the track is perfectly vertical.
- Once aligned, retighten the screws securely.
Vertical garage door track alignment prevents the door from leaning to one side during operation.
Step 4: Adjust the Horizontal Tracks
Horizontal tracks guide the door as it moves into the open position. If they are misaligned, the rollers may slip or jam.
- Loosen the mounting brackets that hold the tracks.
- Use the rubber mallet to nudge them into the correct position.
- Confirm with a level that both tracks are even.
Accurate horizontal garage door track alignment reduces strain on the opener and ensures smooth door movement.
Step 5: Test the Door’s Operation
Reconnect the garage door opener and test the system. Open and close the door several times. The movement should be smooth and quiet. If you hear grinding or see the door shaking, recheck the alignment and make adjustments.
Step 6: Inspect Related Components
Sometimes, alignment alone isn’t enough. Worn-out rollers, frayed cables, or weakened springs can also cause issues. Check these parts while you’re working on the tracks. If you spot damage, it’s best to replace them before they cause further problems.
Step 7: Know When to Call a Professional
Although many track adjustments can be handled as a DIY task, complex garage door track alignment issues should be left to professionals. Garage door systems operate under tension, and springs or cables can be dangerous if mishandled. If you’re uncertain, call a qualified garage door technician.
Common Mistakes to Avoid
- Over-tightening bolts: This can warp the track instead of securing it.
- Ignoring the level: Eyeballing alignment often leads to recurring problems.
- Skipping lubrication: Tracks and rollers benefit from proper lubrication after alignment.
Everyday Benefits of Proper Garage Door Track Alignment
- Smooth and quiet door operation
- Reduced wear on cables and rollers
- Improved safety for your family
- Extended lifespan of your garage door system
Final Thoughts on Garage Door Track Alignment
Performing a garage door track alignment may seem intimidating at first, but it’s one of the most effective ways to keep your system in top shape. By following the steps outlined above, you can save money on repairs, reduce noise, and improve safety. However, if the task feels overwhelming or if you encounter major damage, don’t hesitate to call a professional. Keeping your garage door aligned means peace of mind every time you open or close it.
Check Our Yelp & give us your feedback.